1. General information
Safety instructions
The indications are given without guarantee.
The tyres should be inflated with pressurised air BEFORE installing them-
we recommend 1bar.
Required skills
The assembly requires technical skills.
Required tools
Slotted screwdriver, wrench.
<<<
Produkt-Anleitungen
<<< Einbauanleitungen
2. Assembly
|
|
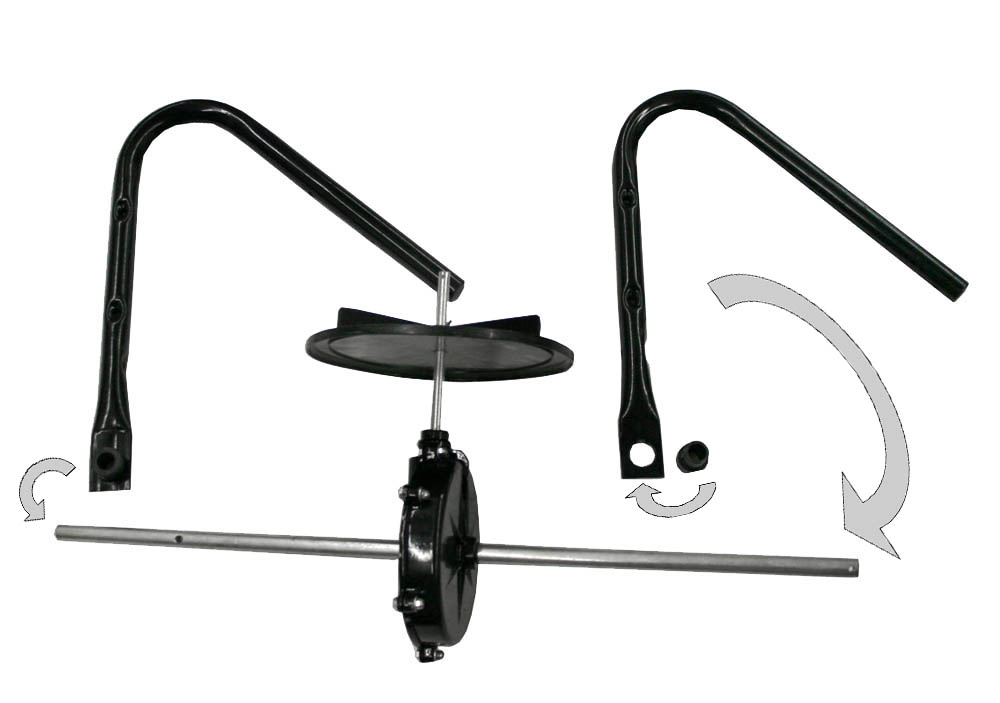
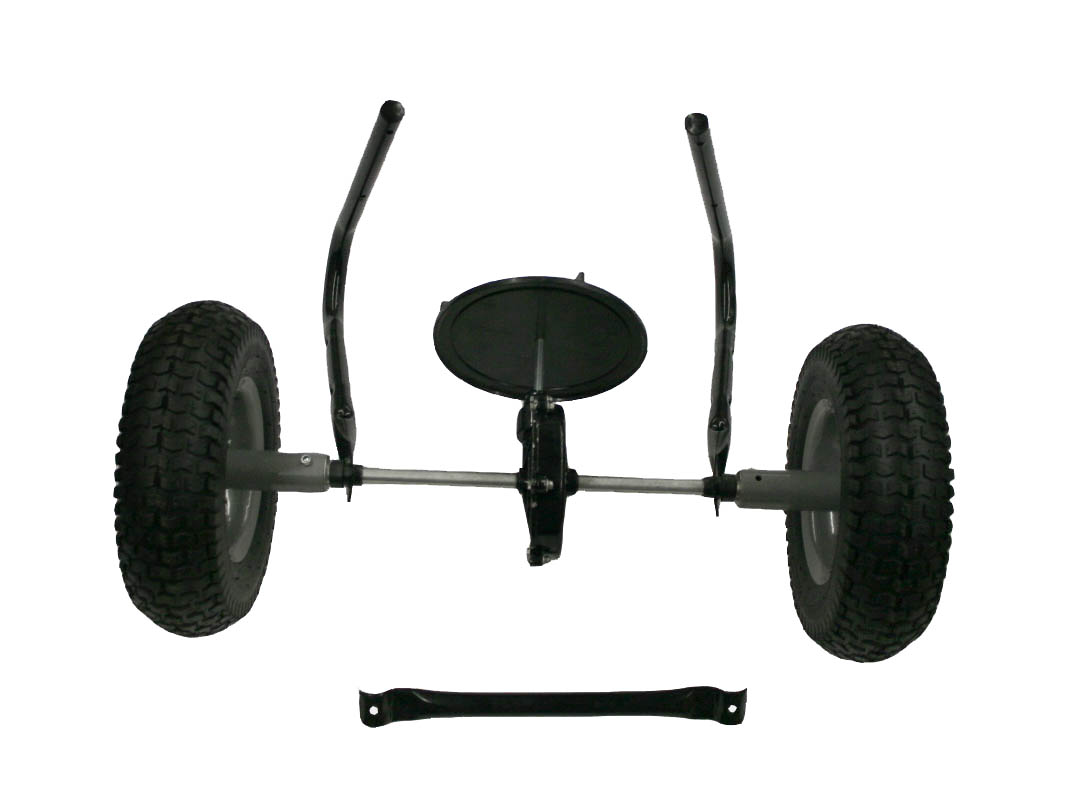
The platic bearings of the axle have to be put in the frame openings, and then the axle is intoduced. |
|
|
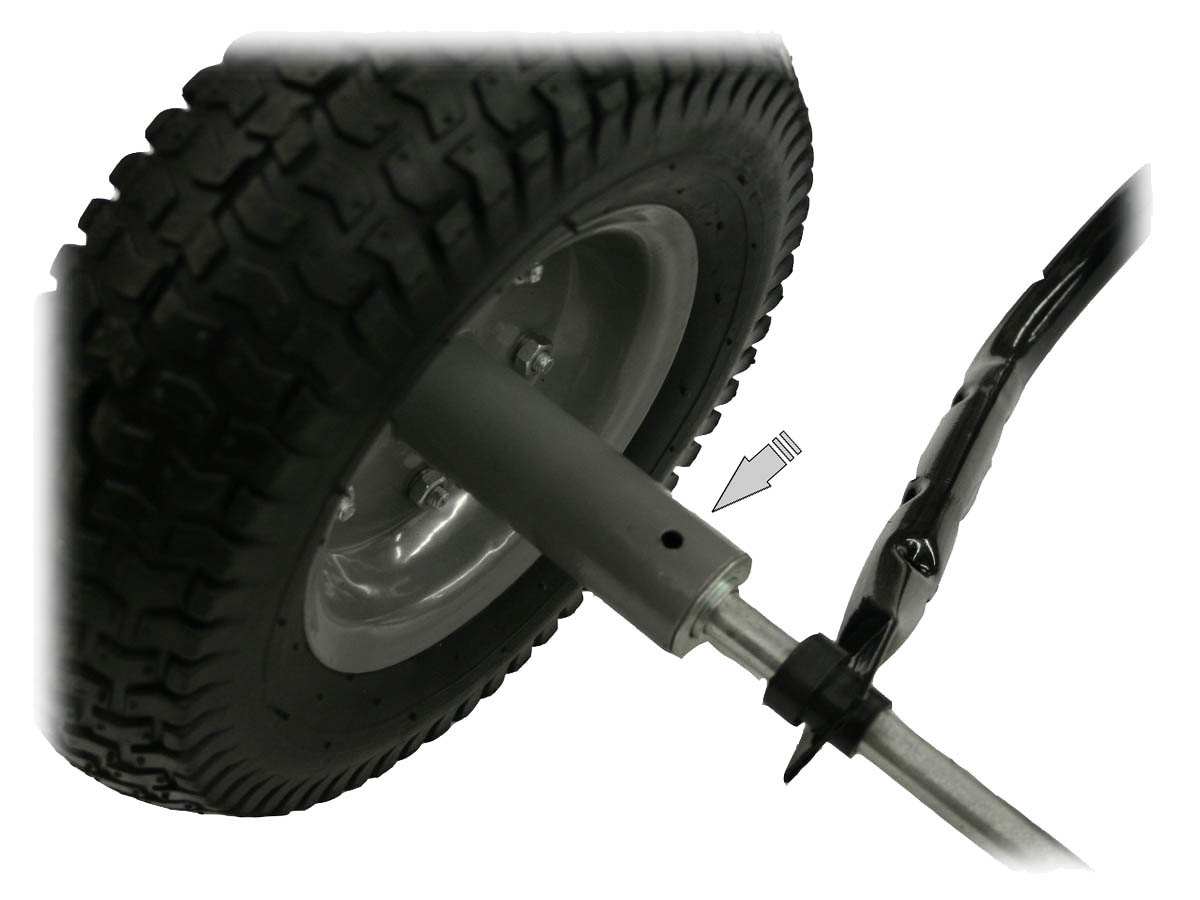
The tyres together with the rims are to be placed on the axle. |
|
|
Then it has to be fastened with a screw (and nut). |
|
|
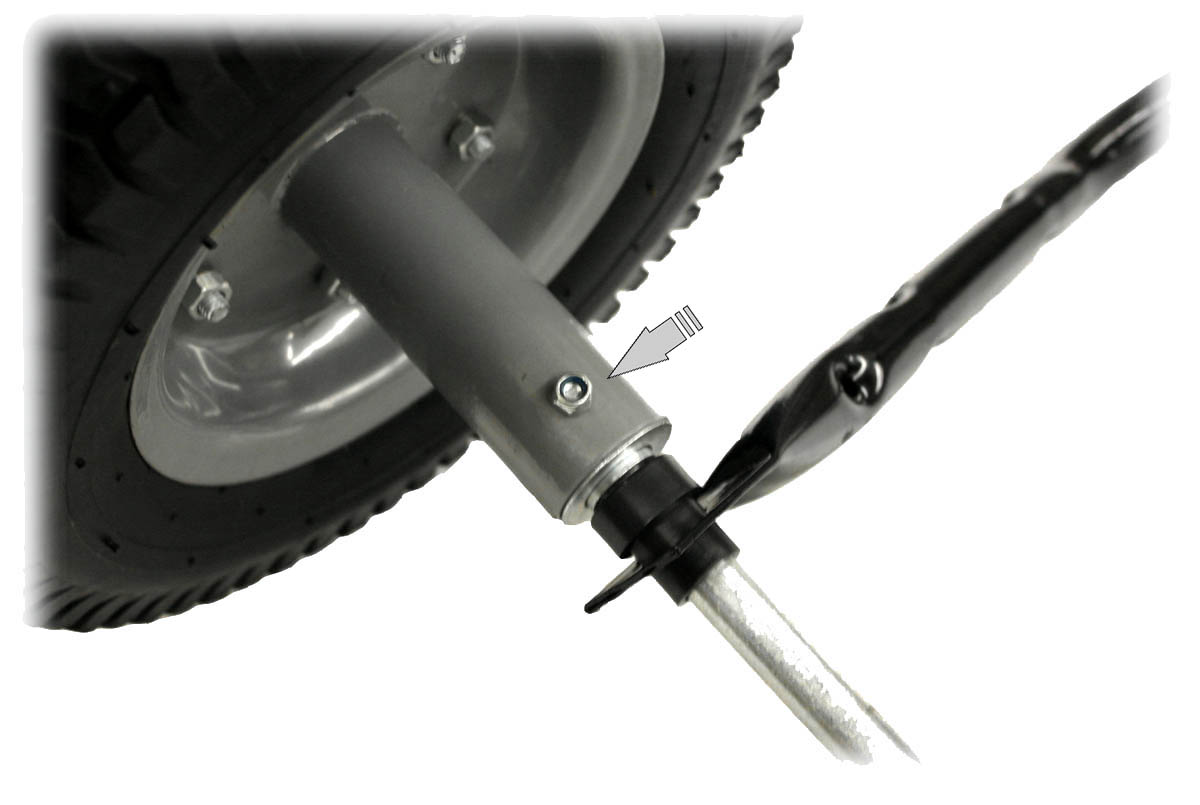
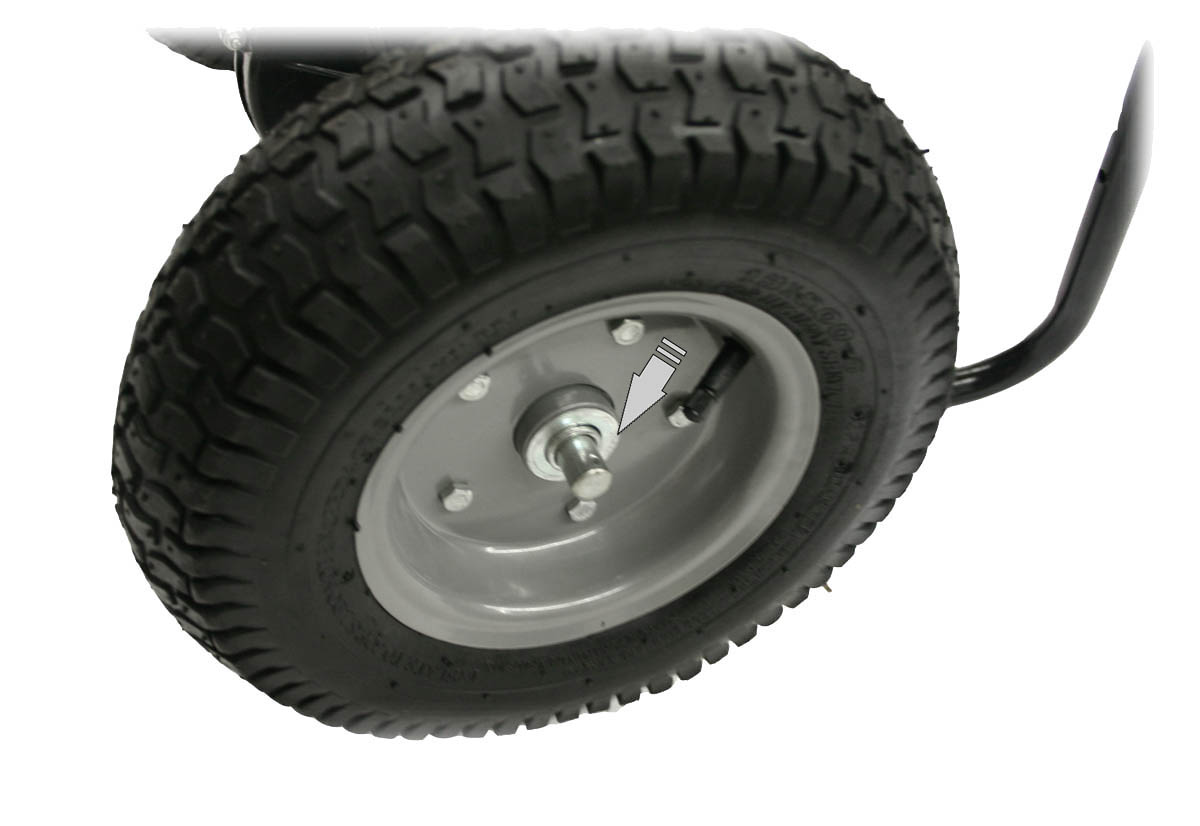
The opposite wheel has to be mounted on the axle. |
|
|
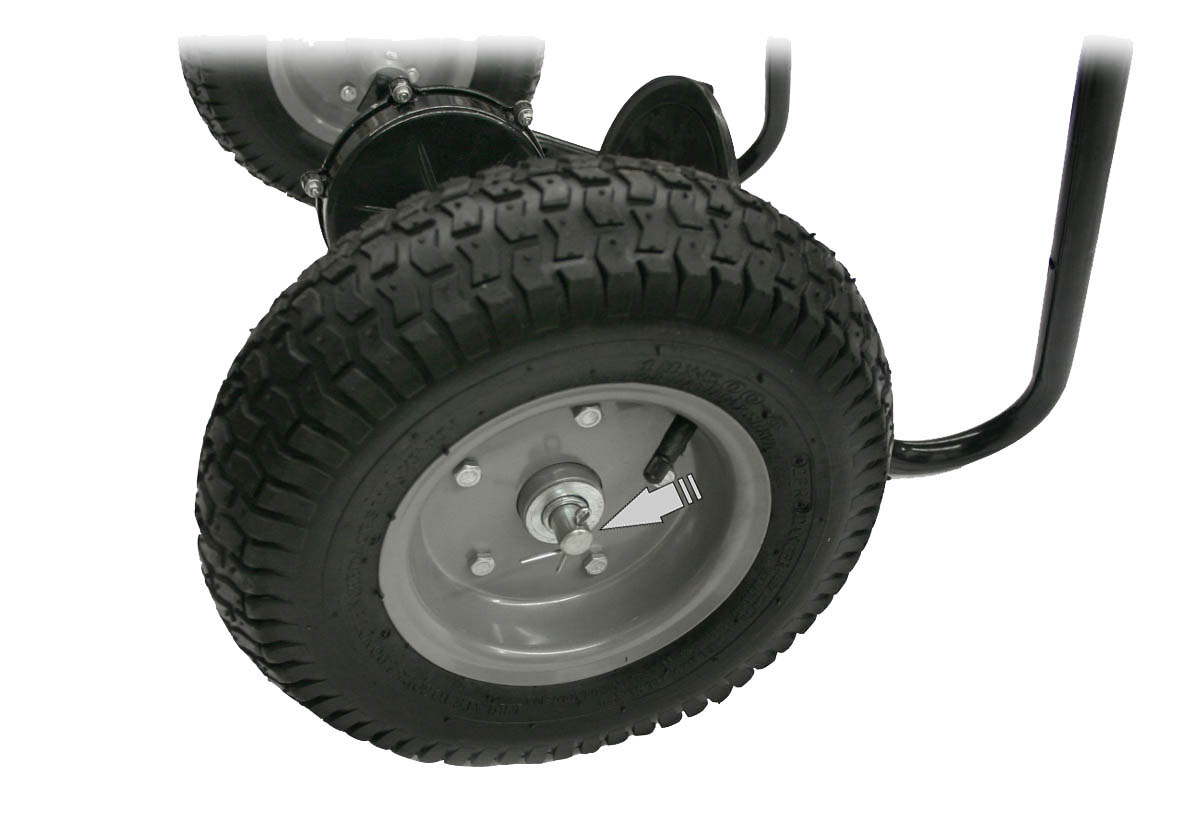
Through the external bore of the axle a splint pin is introduced and bent up so that the tyres are hold on the axle. |
|
|
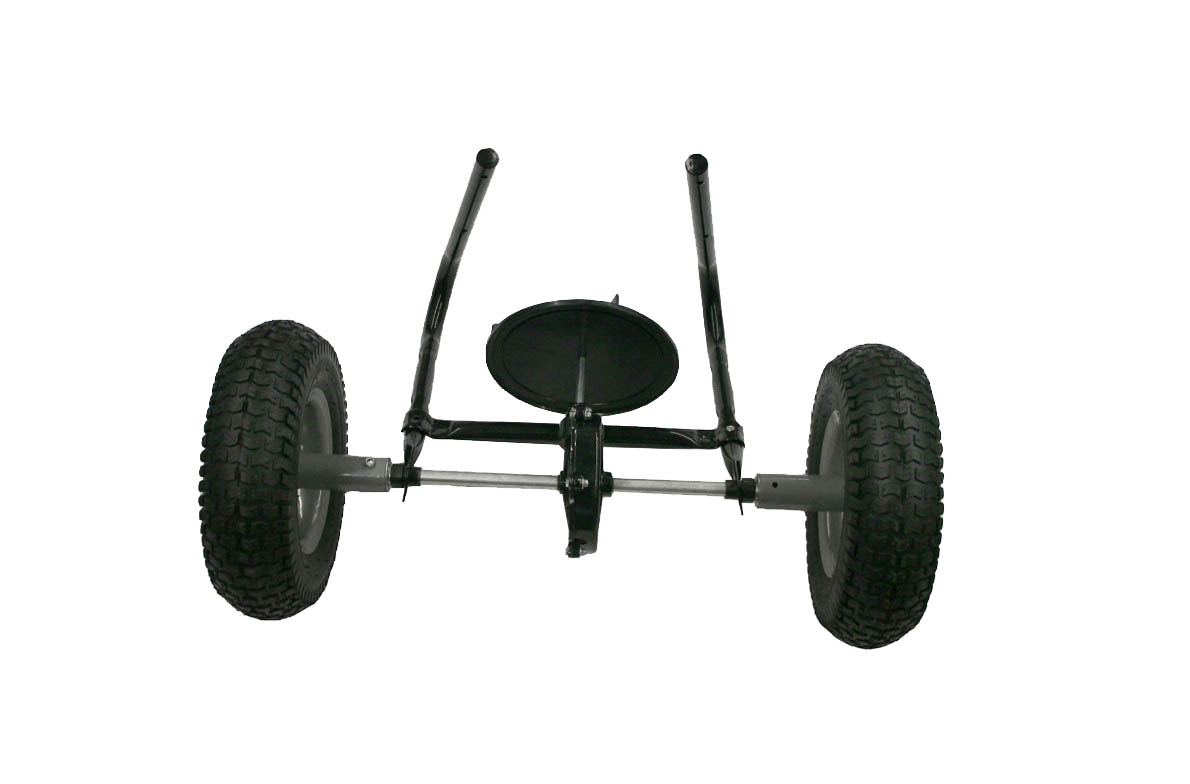
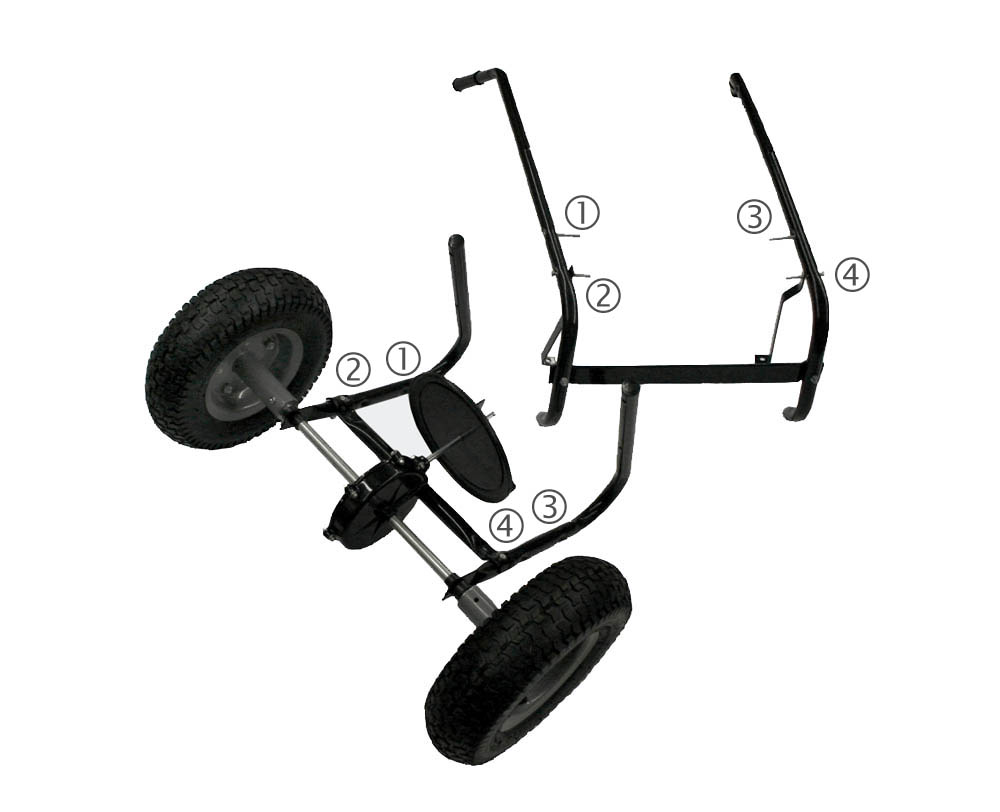
After you have carried out these steps, the basic framework of your spreader should look like in the adjoining picture. The illustrated bar has to be introduced in the frame. |
|
|
The bar is screwed together with both frame parts. |
|
|
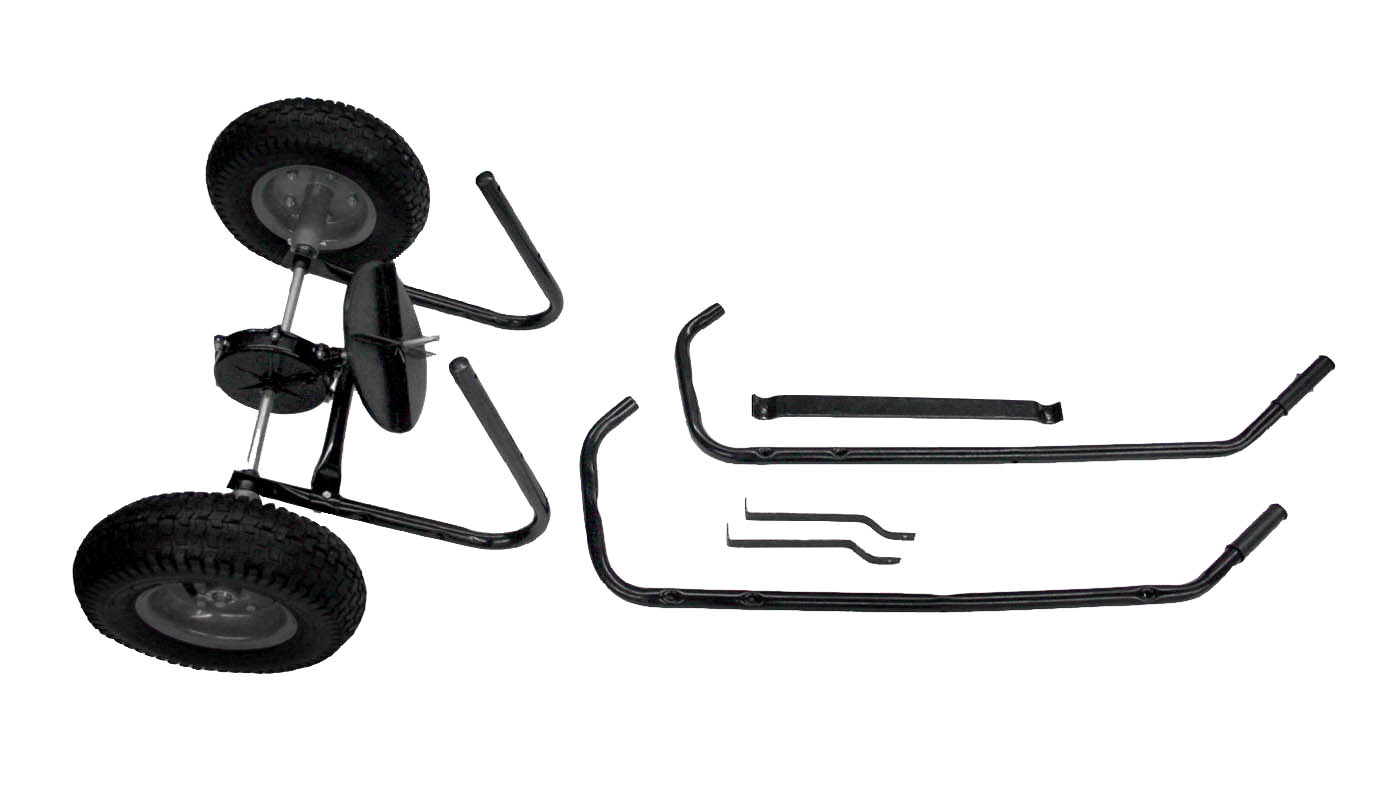
The hand grips and the additional bars are assembled. |
|
|
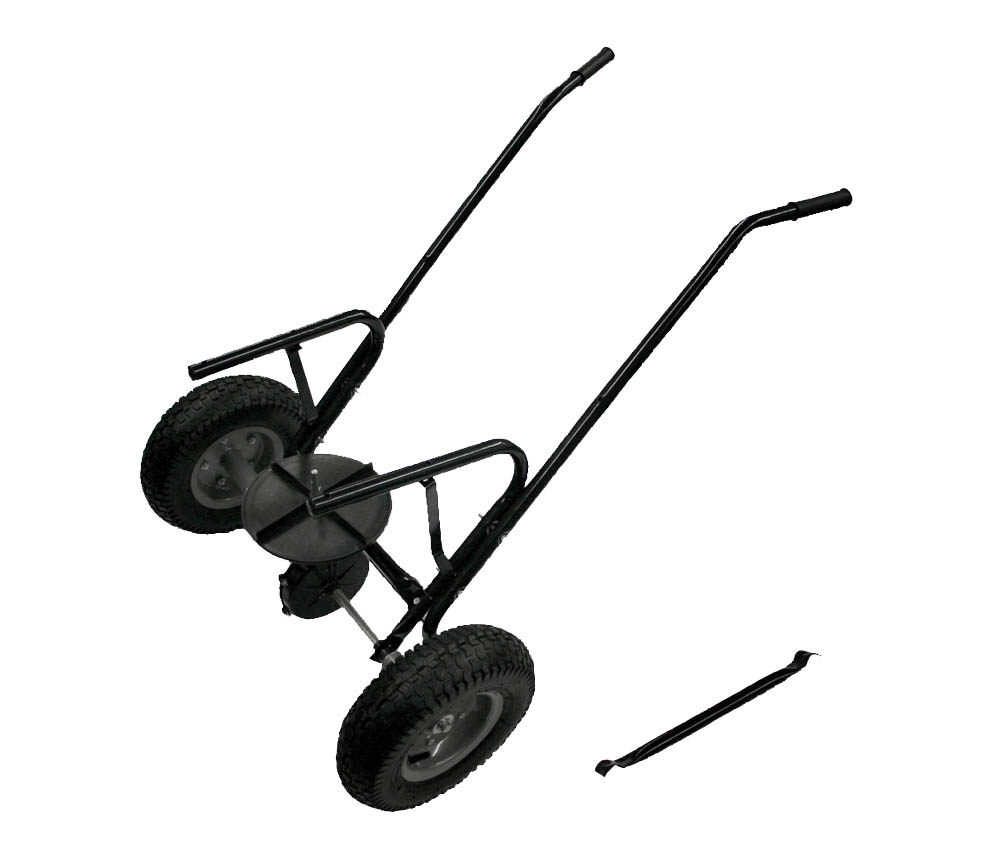
The grip parts have to be pre-assembled in order to mount the grips.(see illustration). |
|
|
Then the grips are screwed on the frame chassis. |
|
|
For the stiffening of the hand grips an additional bar is screwed to the frame. |
|
|
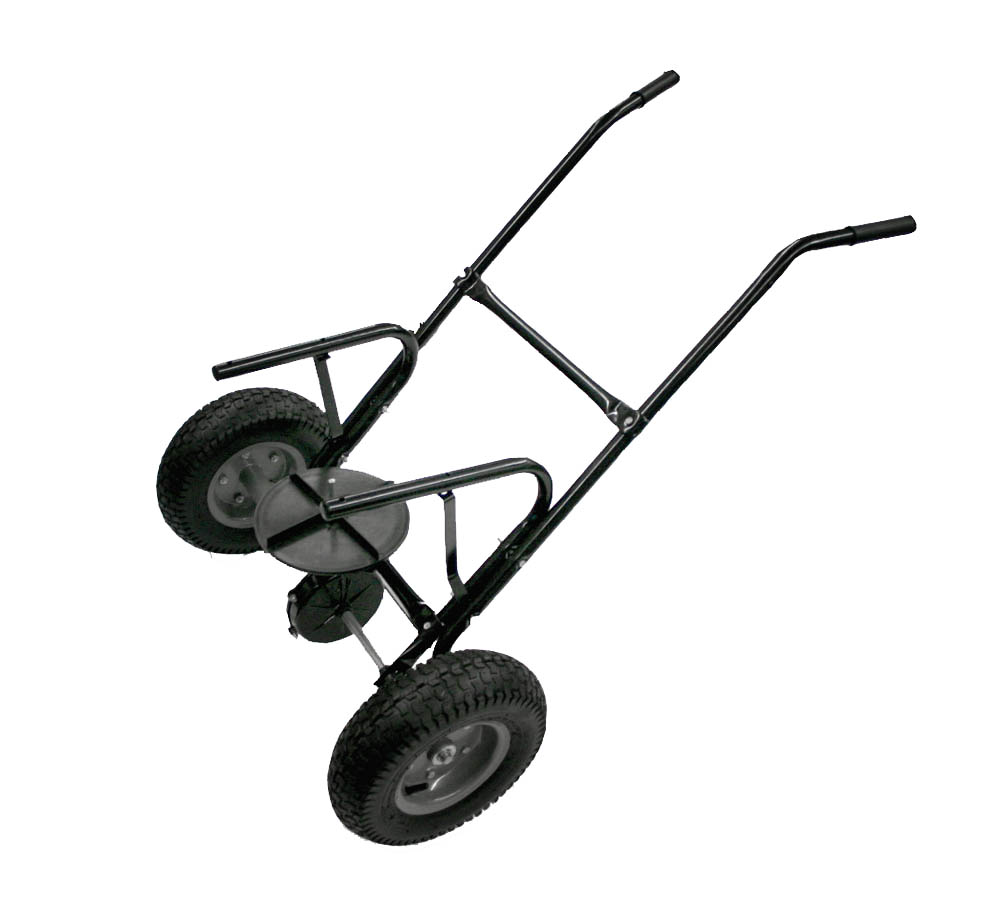
The poly hooper is installed. |
|
|
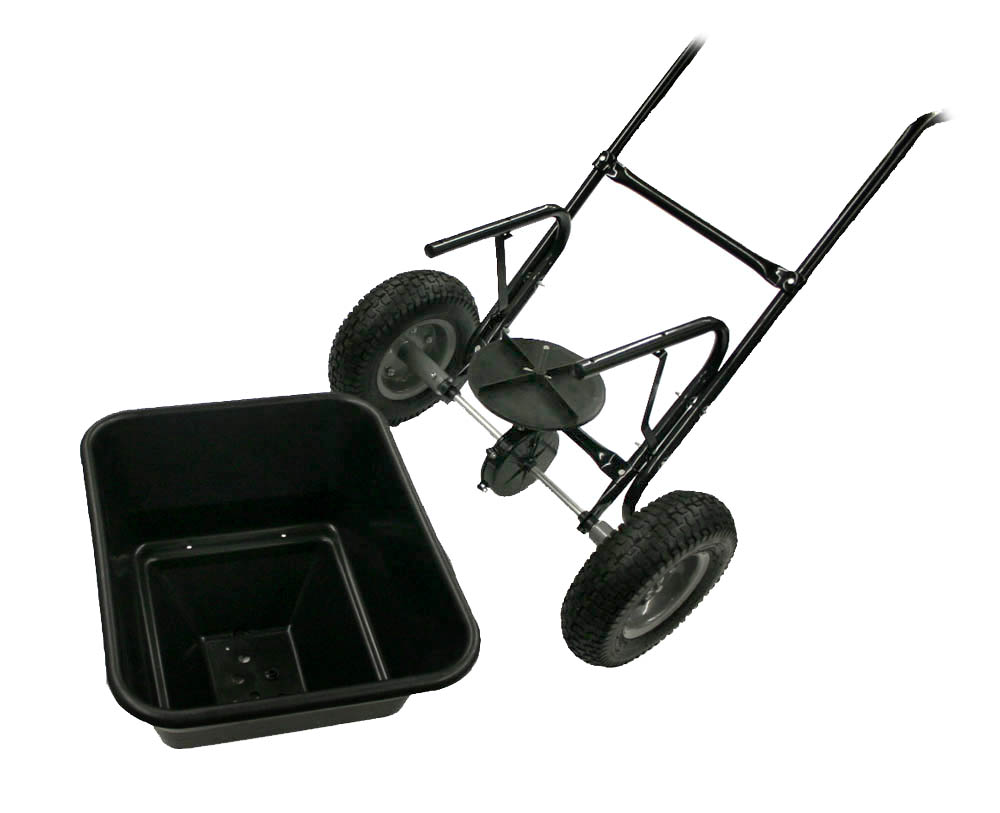
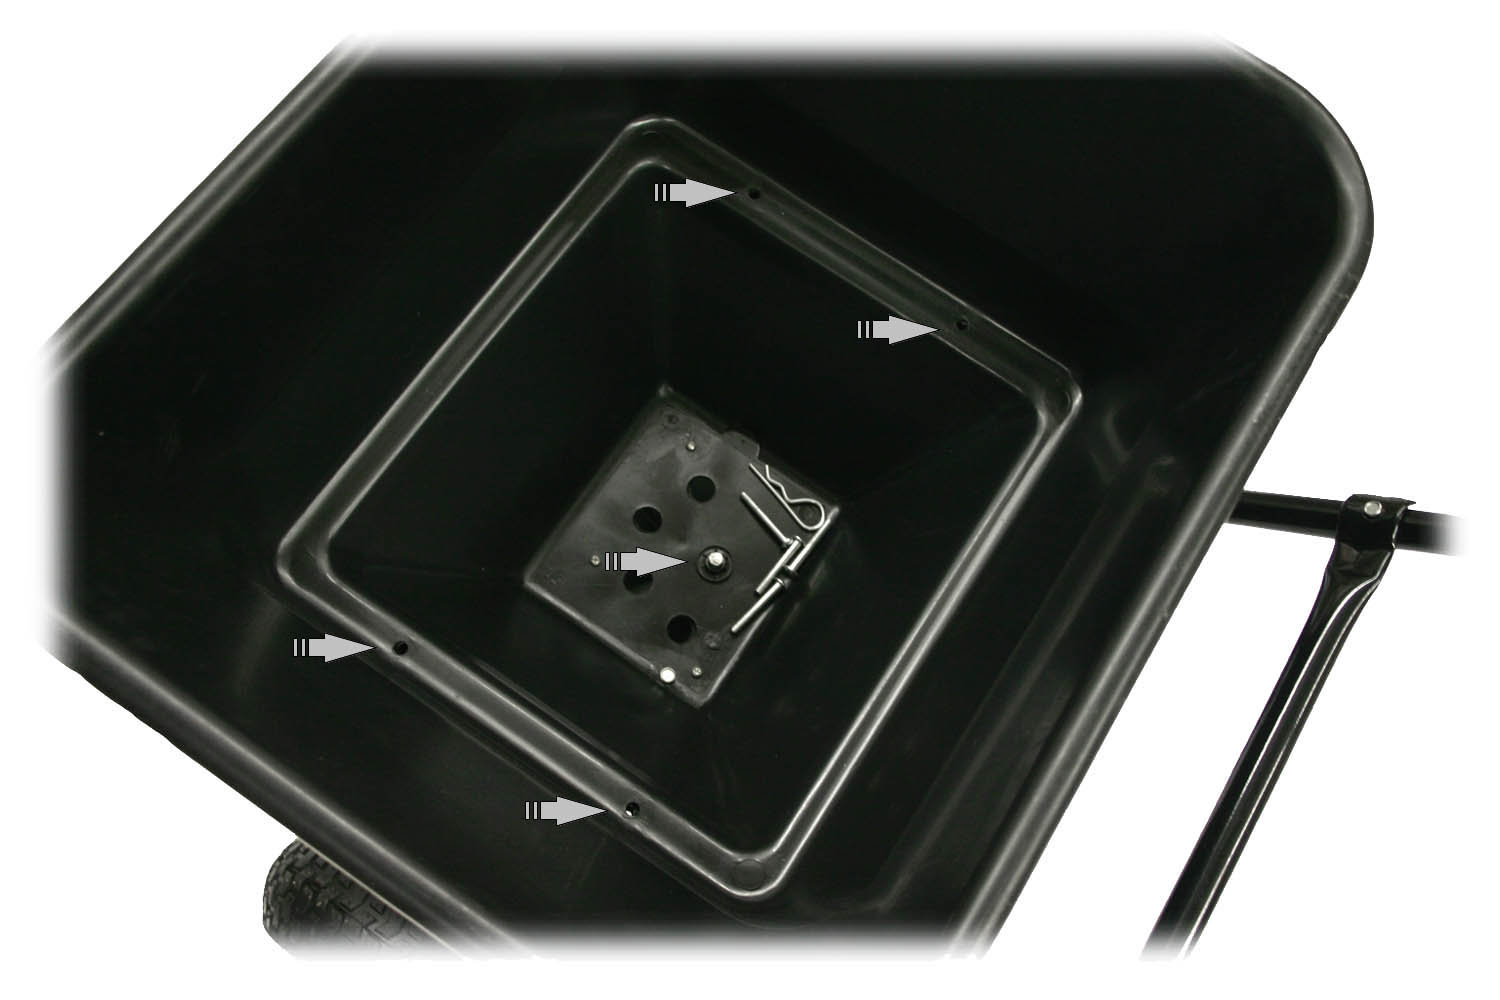
Screws have to be introduced on the indicated points to connect the hopper to the frame. A splint is placed in the middle of the poly hopper through the spindle of the conveyor drive and serves as mixerto spread the grit. |
|
|
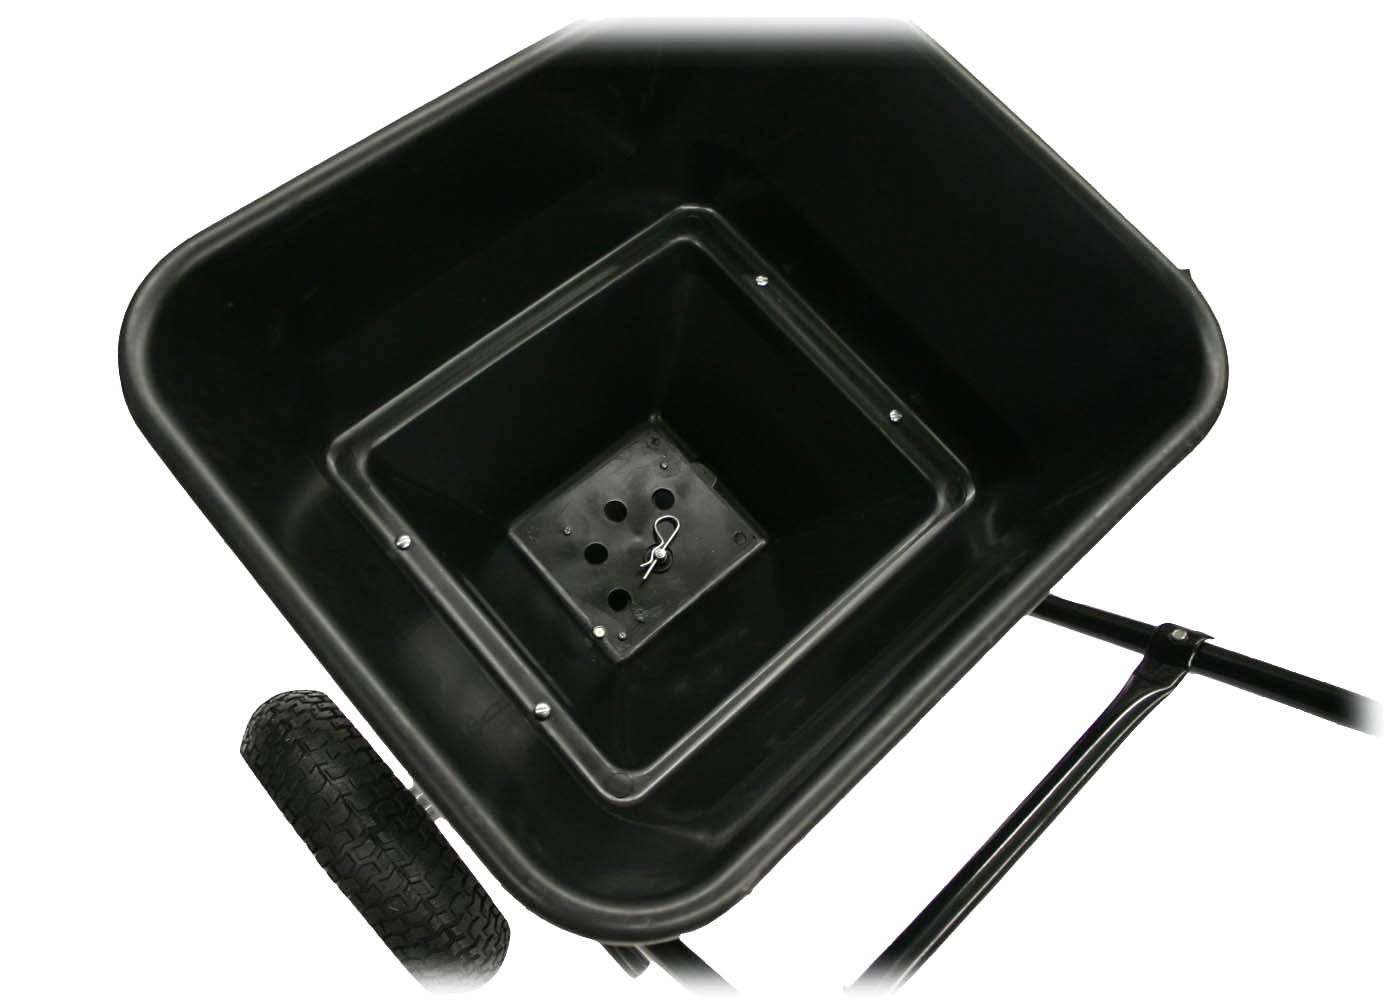
The poly hopper looks like this if it is assembled. |
|
|
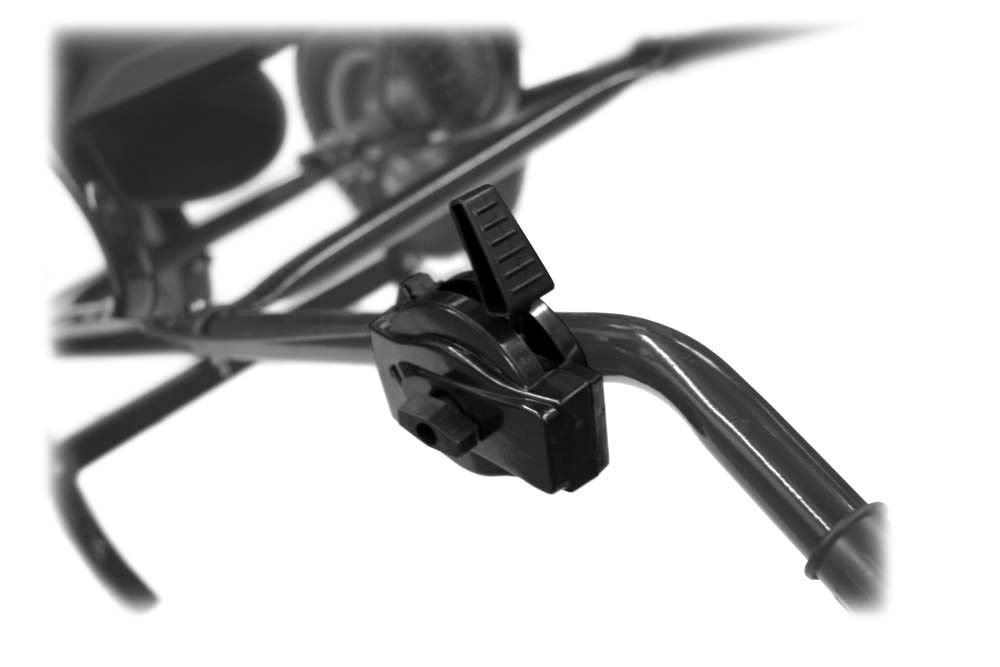
The hand pull for adjusting the opening width is connected to the left hand grip with a screw. |
|
|
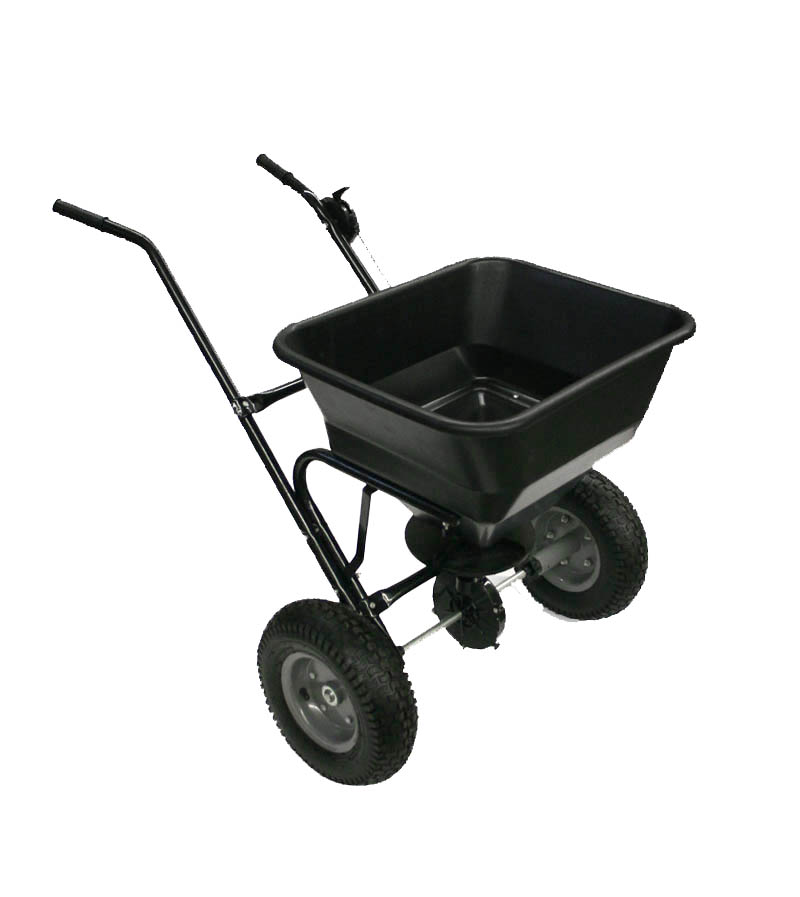
After a successful assembly the spreader should look like this. |